Preparing seed potatoes for planting is a fairly easy task, and comes as second nature to those who have been in the growing scene for a few years. Now that you have your seed spuds chosen, you’re ready to get this upcoming growing season going! So, what SHOULD you do next??
Double Check Seed Potatoes for Scab, Pest Damage, and Rot
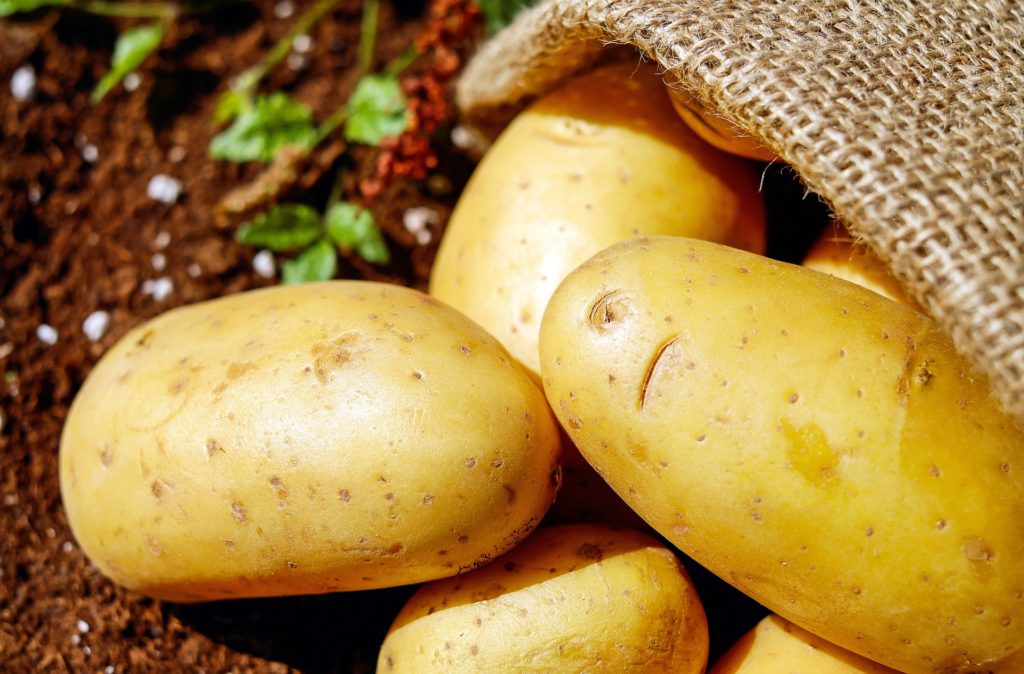 Before you begin with your potatoes, check over them for any abnormalities in the flesh of the tubers. The skin should be clean and unbroken, and rather tough to protect the flesh within. There should be no holes or craters from pest damage, such as voles, worms, larvae, beetles, fungal infections, and more. Rot can also be a big issue during storage. Check for any draining fluids, brown flesh, mold, flat sides, or putrid smells that indicate rotting and spoiling.
How To: Cutting Seed Potatoes for Planting in the Garden
 Cutting seed potatoes allows you to get the biggest yield possible from your seed tubers. The general rule is that egg sized & smaller tubers should go into the trench whole. Larger seed tubers can be cut into 1 inch cubes, just ensure that there are 2 eyes for every seed potato chunk. I have had personal success with cutting the egg sized and smaller tubers, but I try to get the absolute most out of my plants; that’s just a personal preference. I’ve also had micro tubers the size of a dime that produced plants. I have extra space and love to grow my potatoes, but in the case of limited space, it is better to ensure that there is a plant in every available spot. Preparing your seed potatoes to maximize your total harvest yield and available space is the top priority.
Healing & Callusing Cut Potato Wounds before Planting
 Once potatoes are cut, they are t risk of infection and rot. Keep the seed pieces spaced out in a single layer so that they receive air flow to the wounds. They should be kept in a humid environment at room temperature, or approximately 70 degrees Fahrenheit. This allows the cut surface to callus in order to protect the potato from disease, rot, and lost moisture. You must keep the potatoes protected for at least 48 to 72 hours; many recommend at least 10 days. Therefore, cutting seed potatoes BEFORE chitting is an excellent process.
Chitting Seed Potatoes in a Sunny Spot
for Sprouts
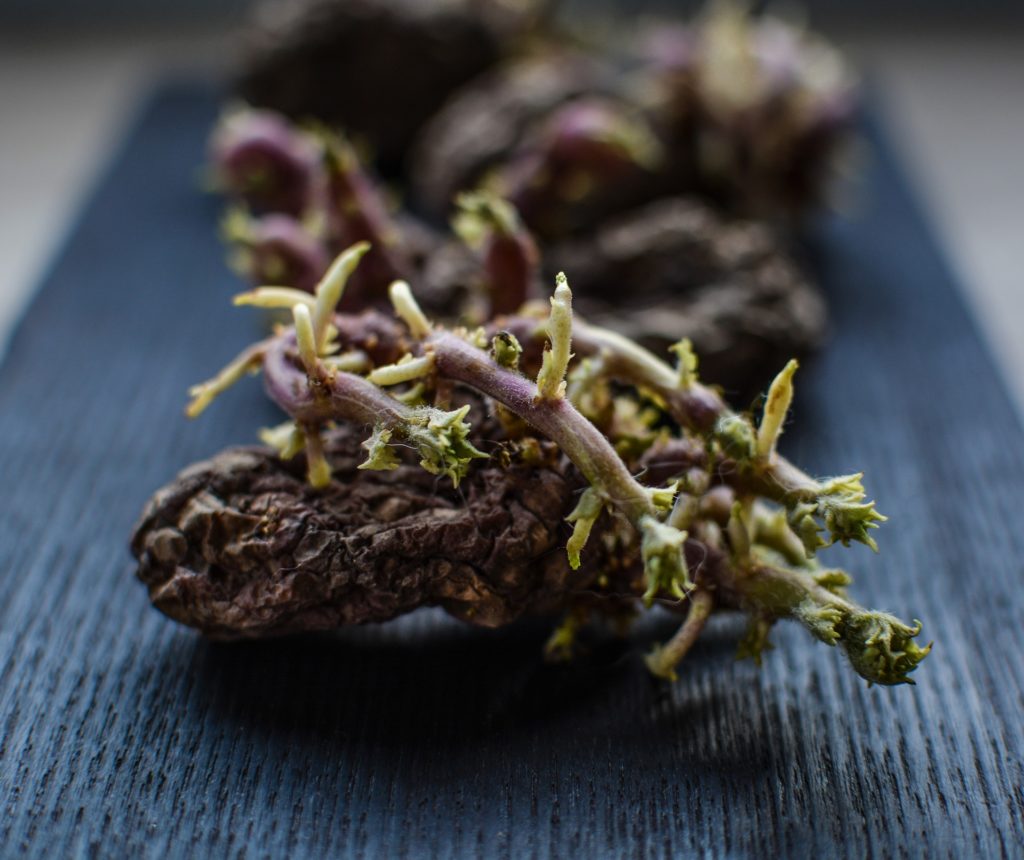
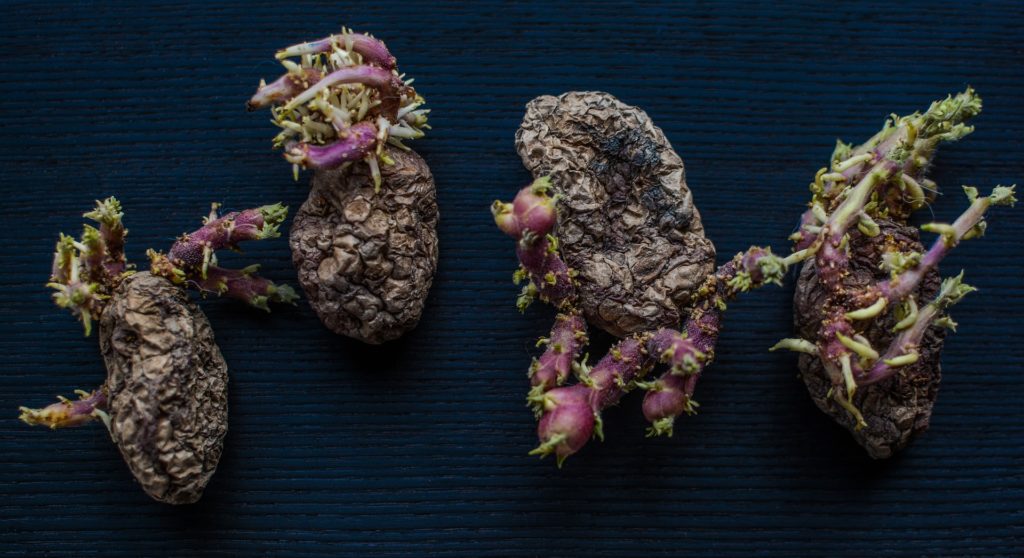 Chitting is simply the practice of allowing potatoes to form sprouts before planting. This is beneficial for many reasons. First, there are sometimes a dozen or more eyes on a single potato. We don’t know which eyes will be the first to sprout, or which sprouts will be the strongest of those. Chitting allows the gardener to see which eyes are sprouting first.
In addition, potatoes are a fairly slow growing crop. Many times, they require 90 to 100+ days before harvest. Chitting before the frost date allows you to hit the ground running when the danger of frost has passed. The plants will be several days (even weeks) ahead of sproutless tubers. This shaves some of the growth time off of the top.
Ready to Plant!
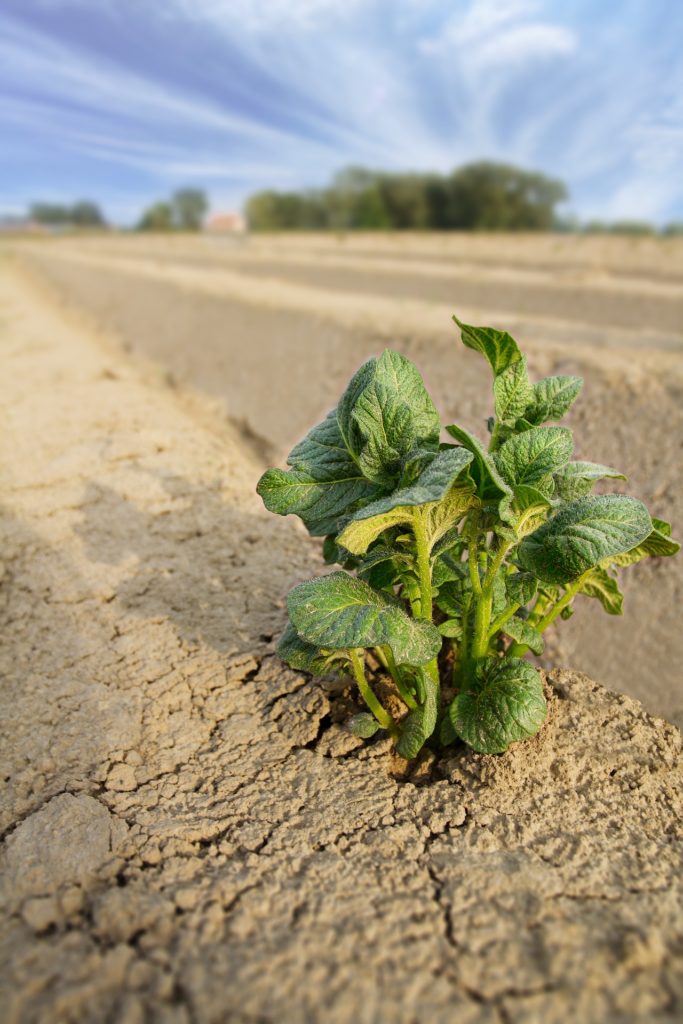 Once the potatoes have developed a nice scab over their cut surfaces and have beautiful little sprouts just begging to grow, you can prepare the dirt and drop them in! Get ready for a delicious crop in a few months; and don’t forget to harvest new potatoes in around 50 to 60 days!